Eva Philips is an Experience Designer working at the intersection of strategy, design, and technology.
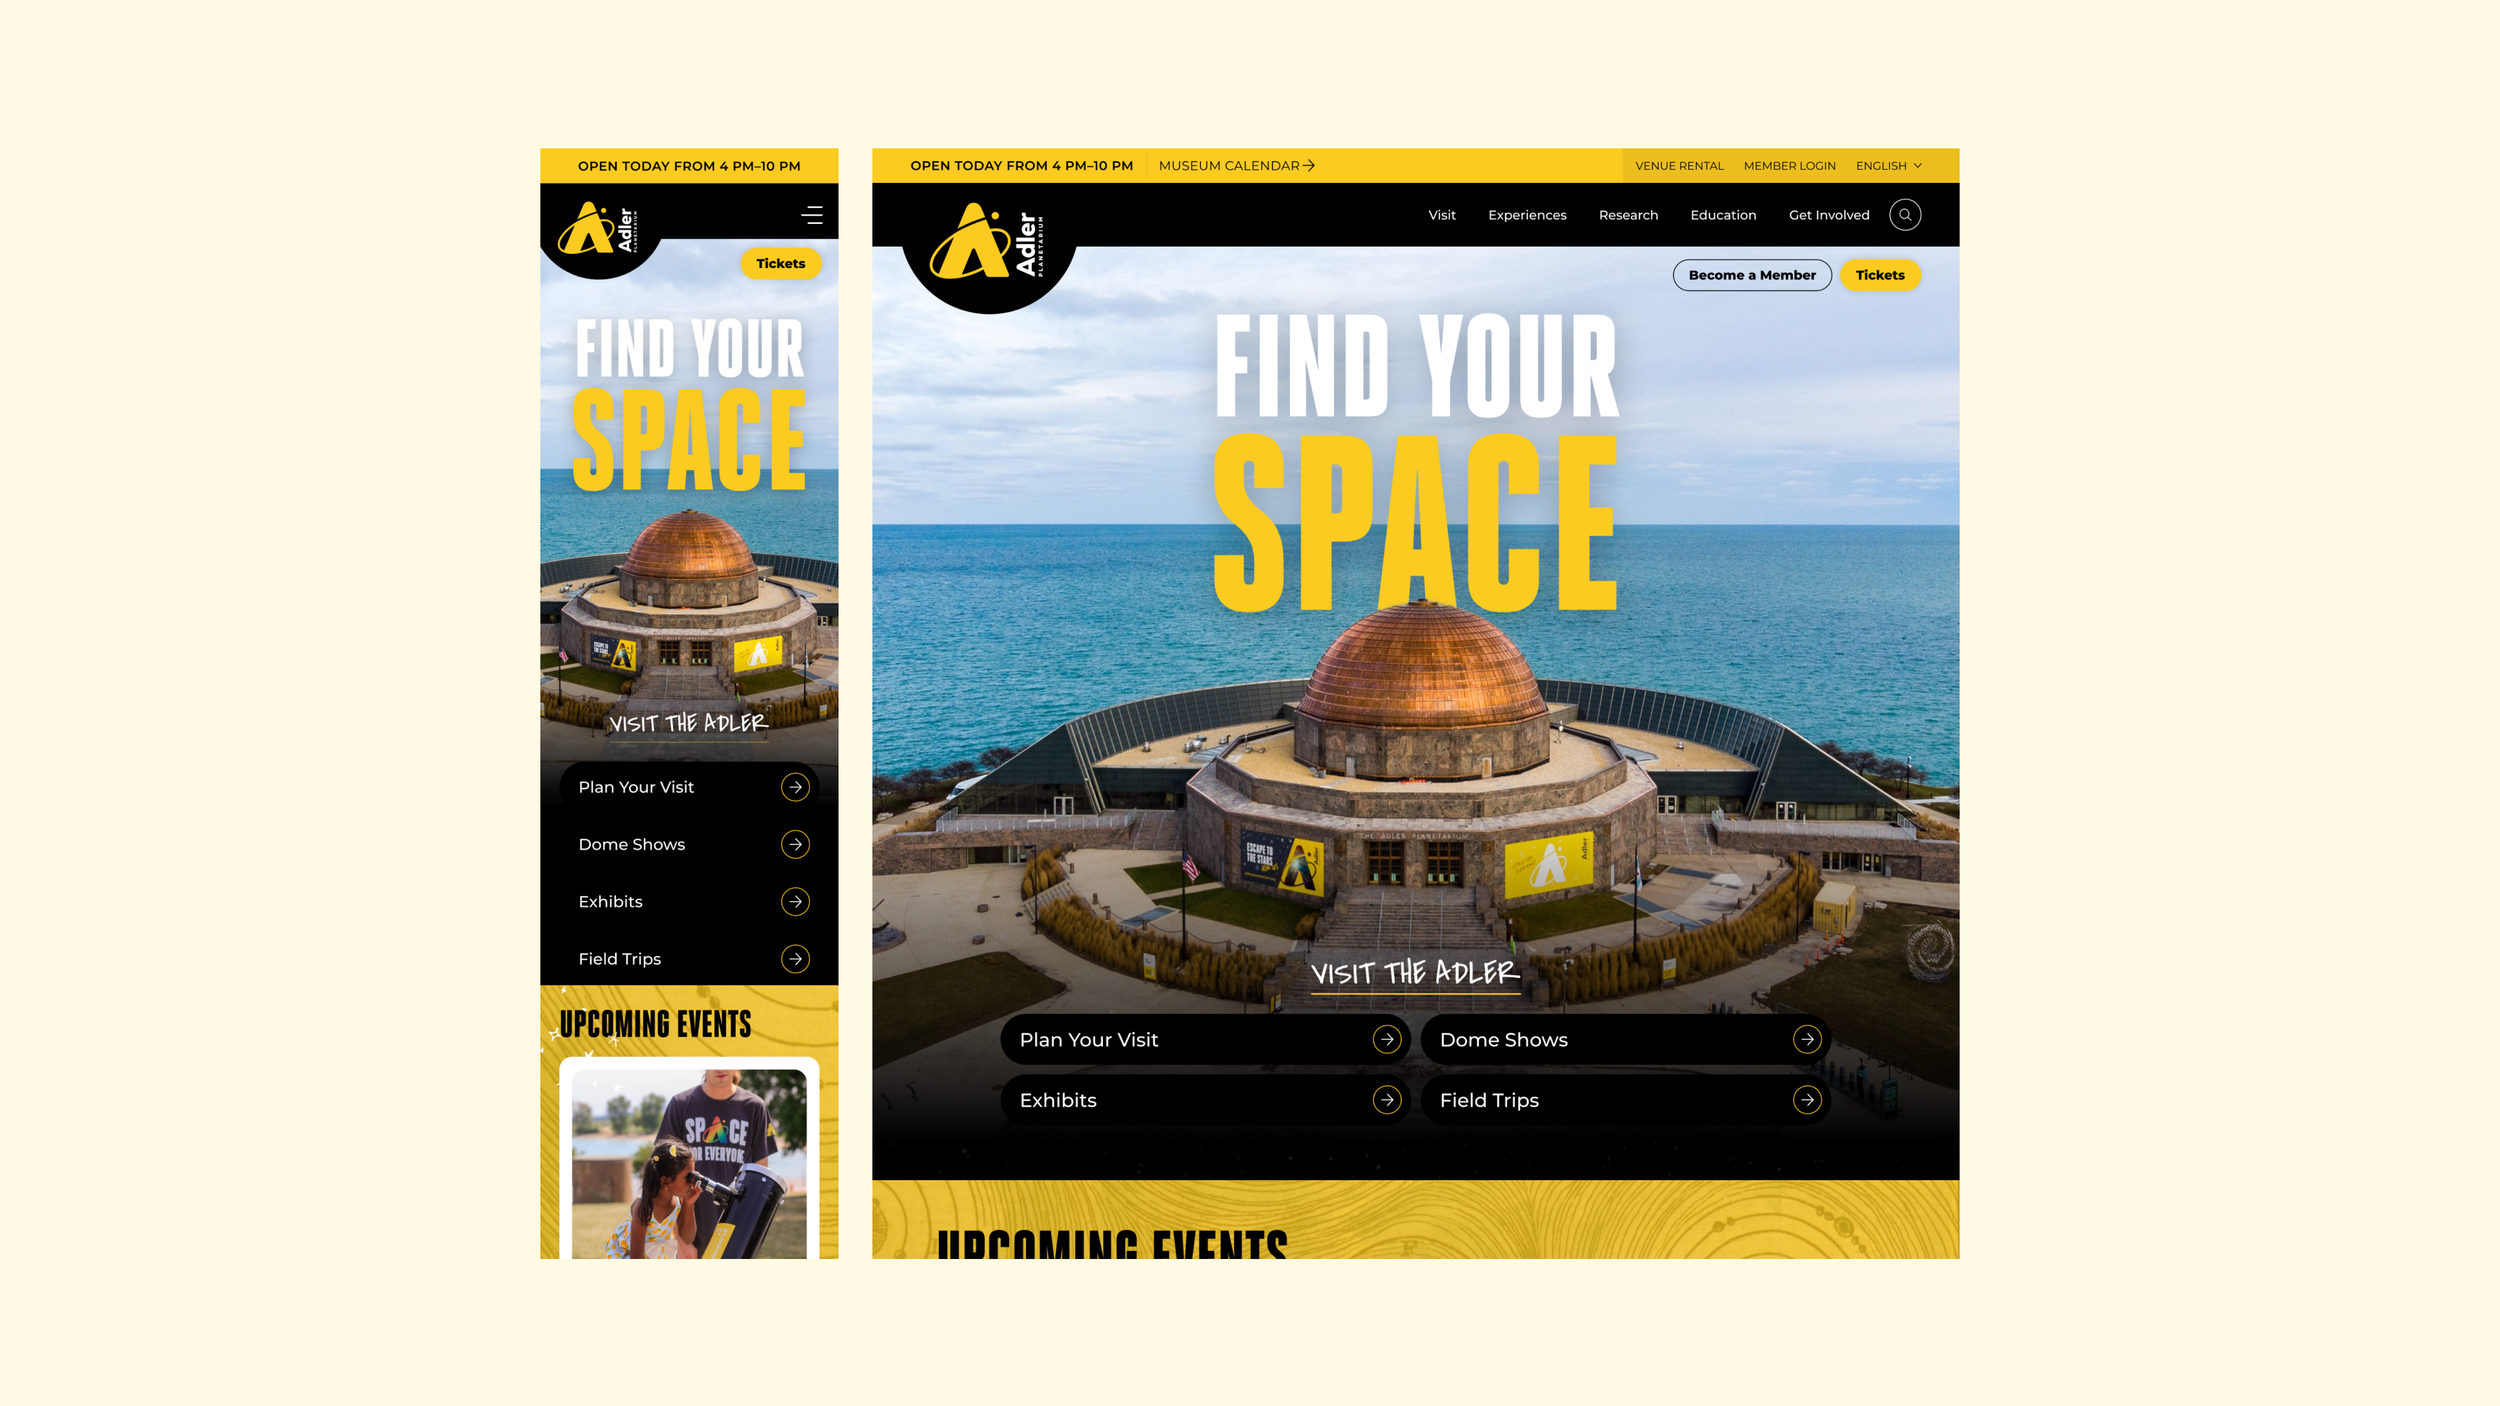
The Adler Planetarium Website
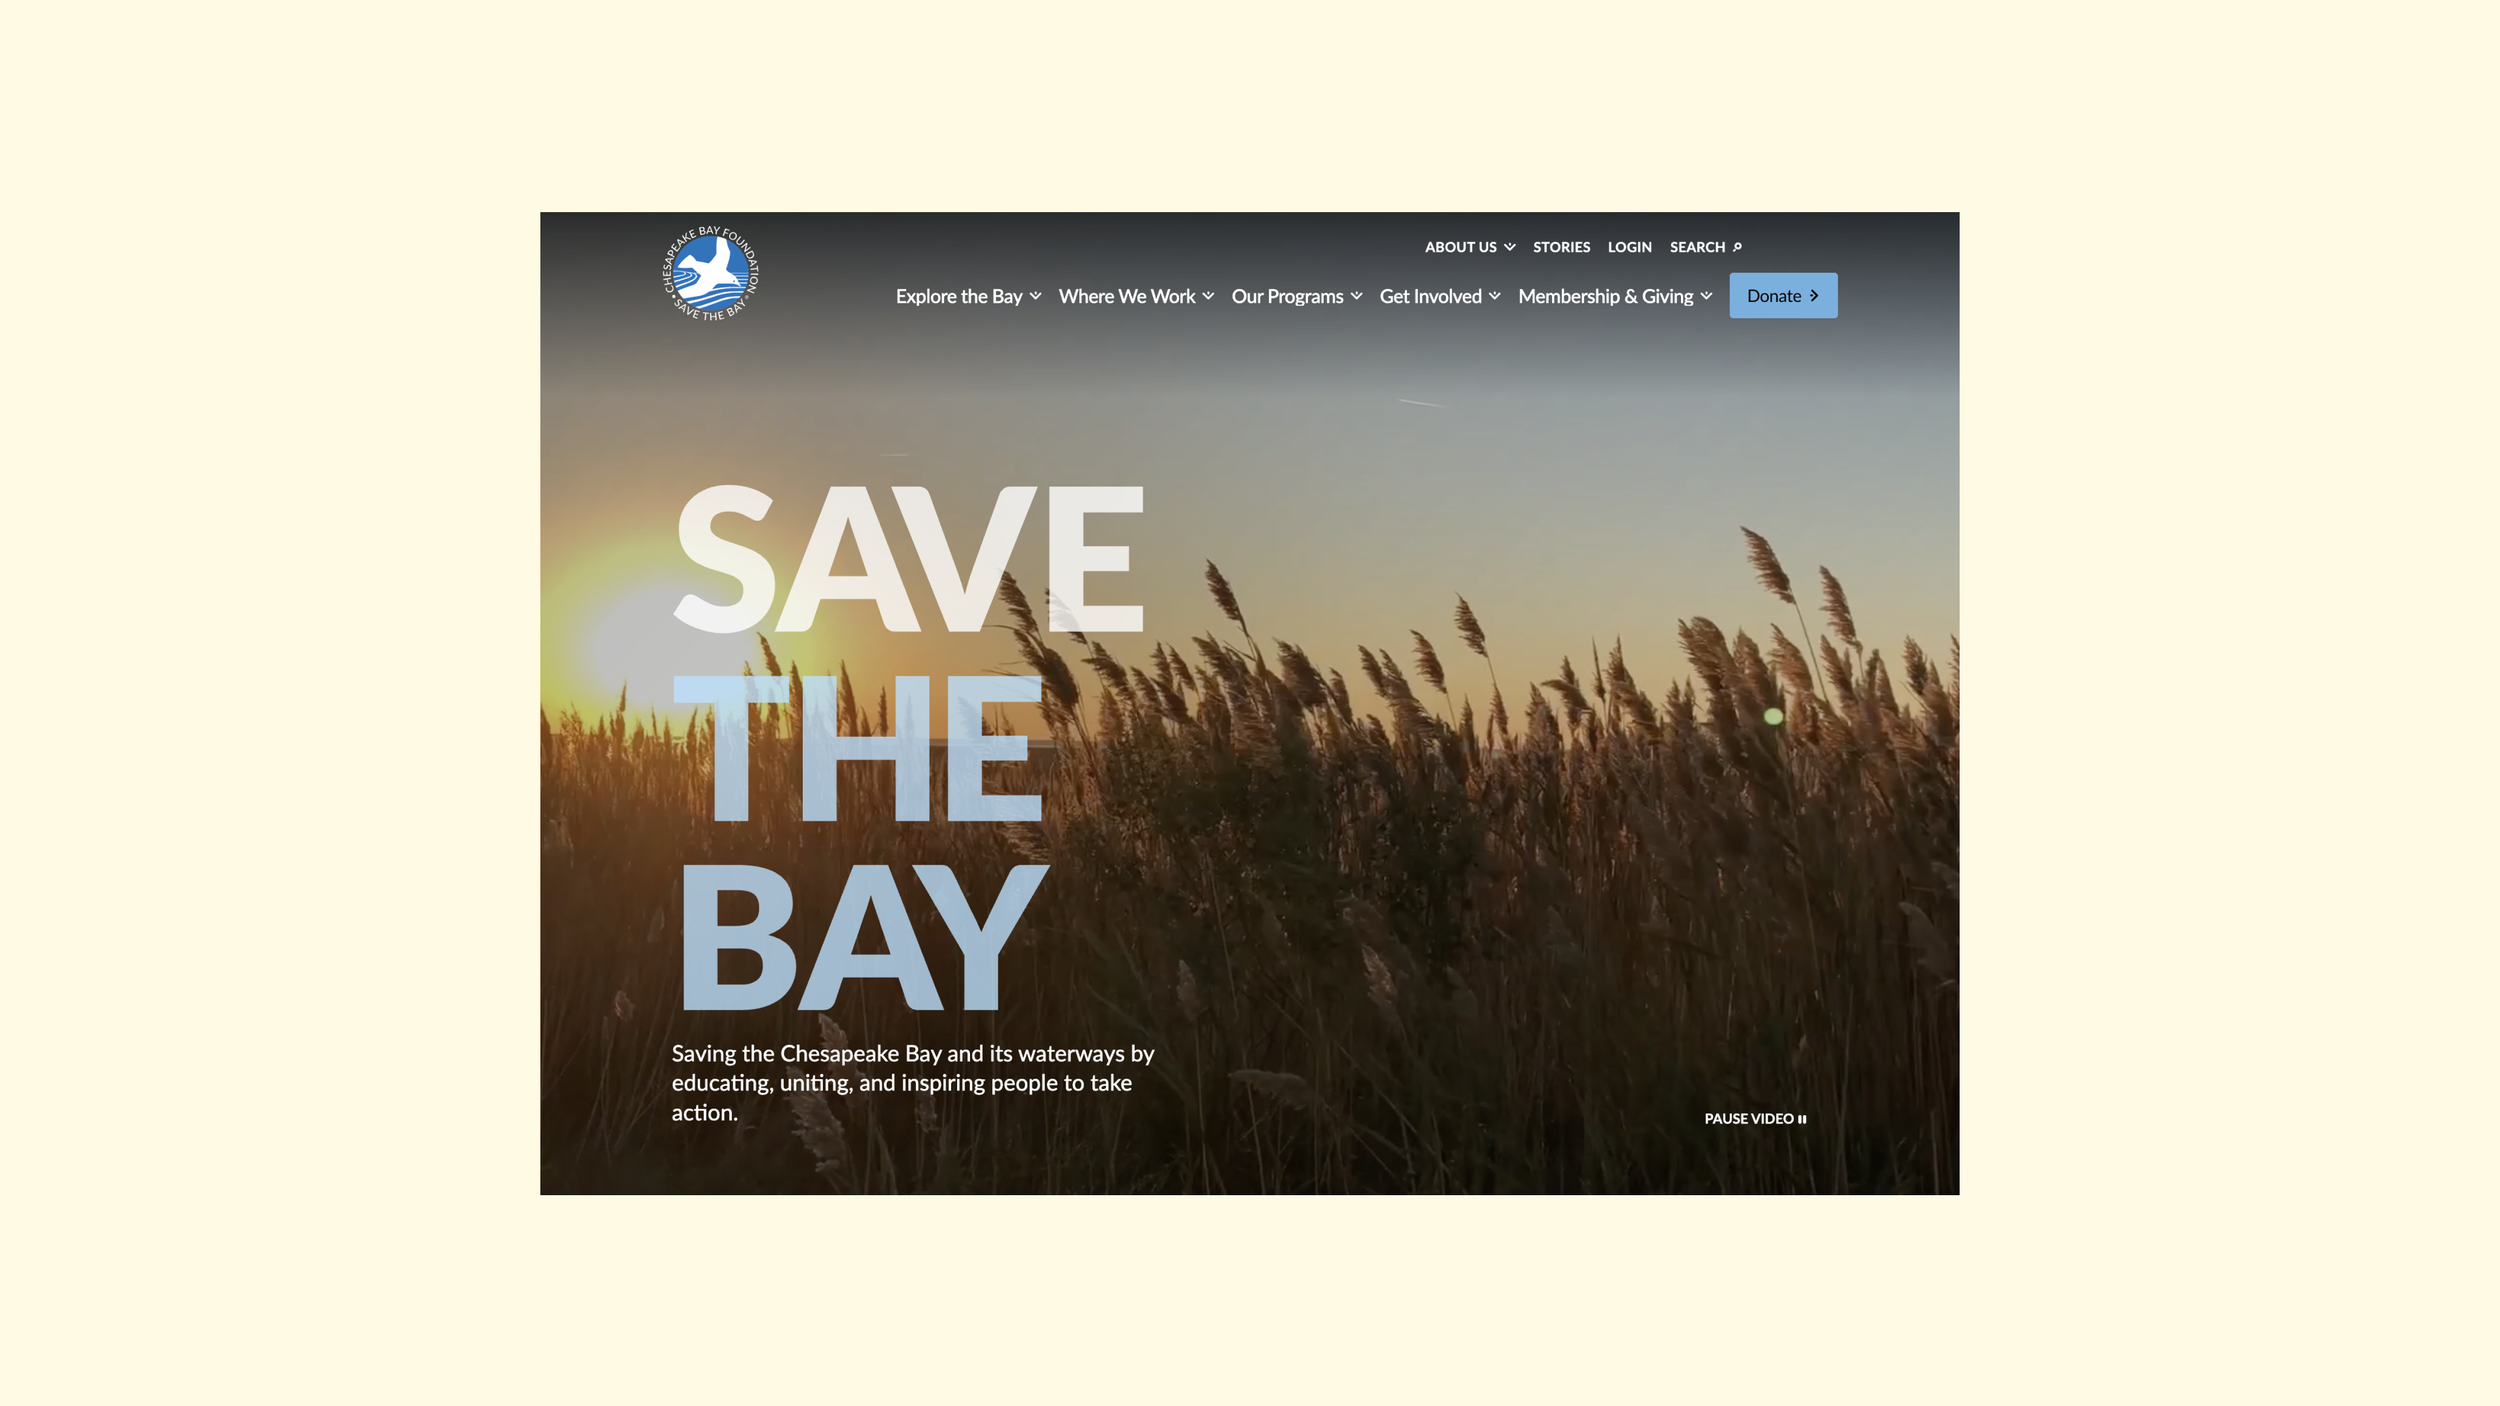
Chesapeake Bay Foundation Website
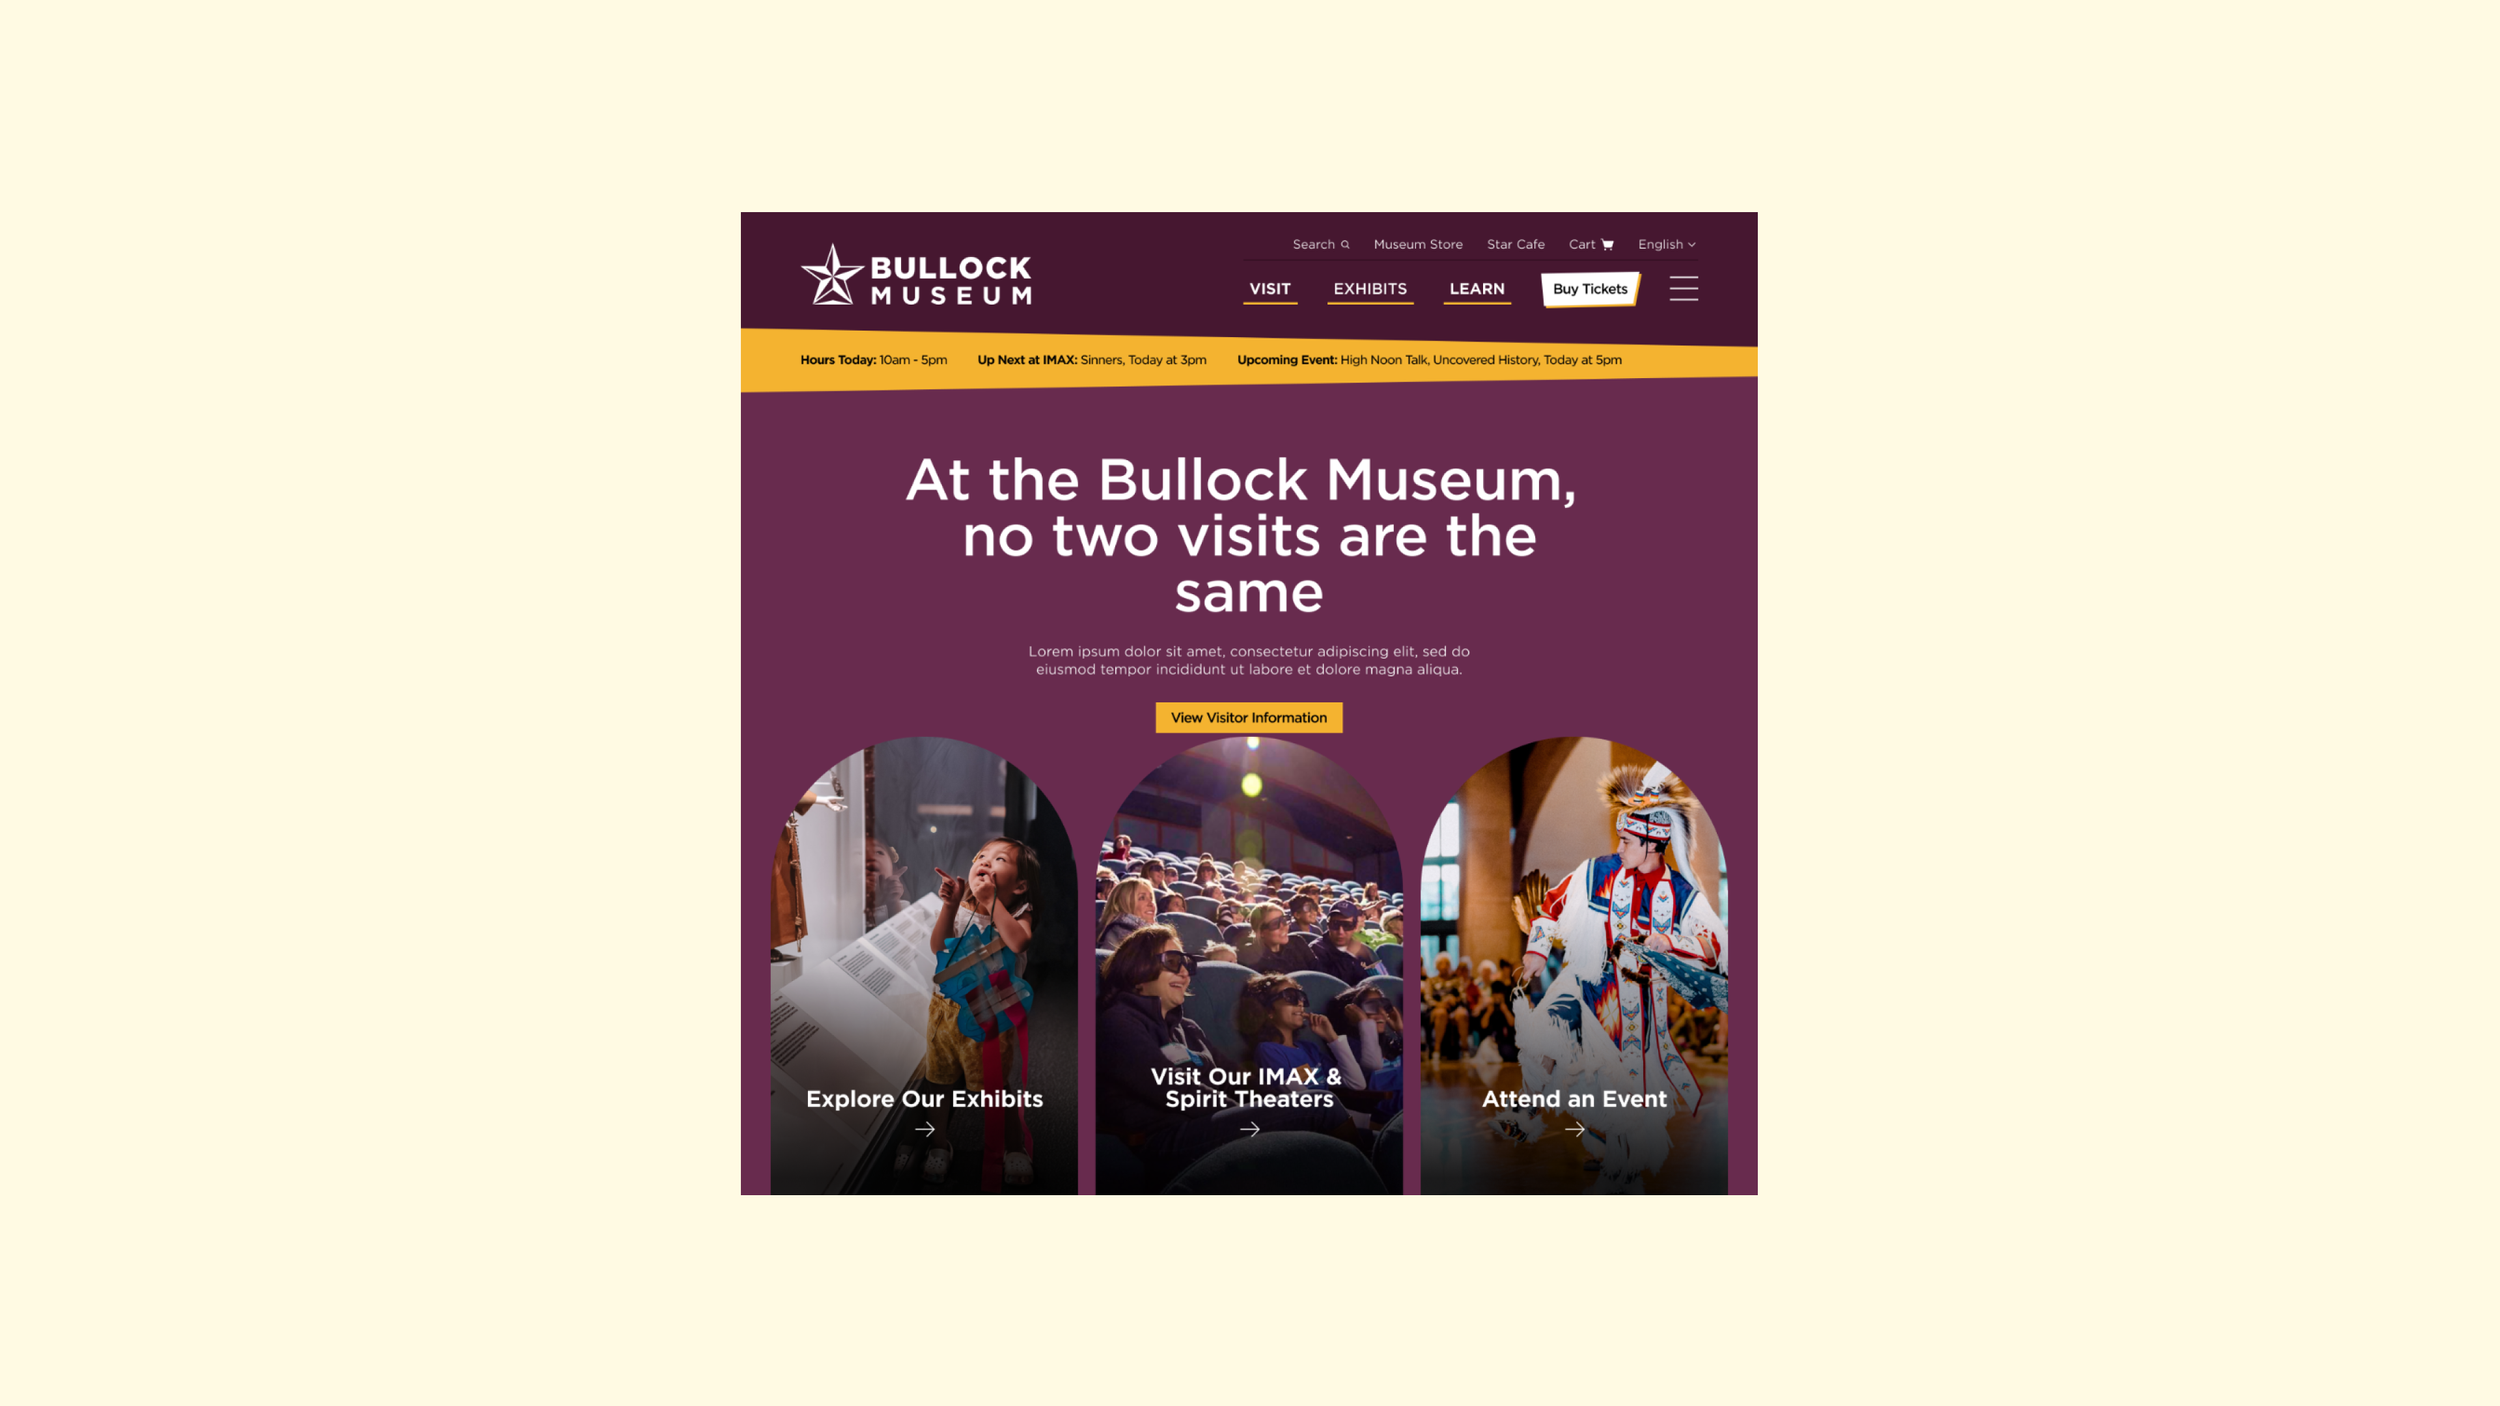
Bullock Texas State History Museum Website

Wide Angle Youth Media Website
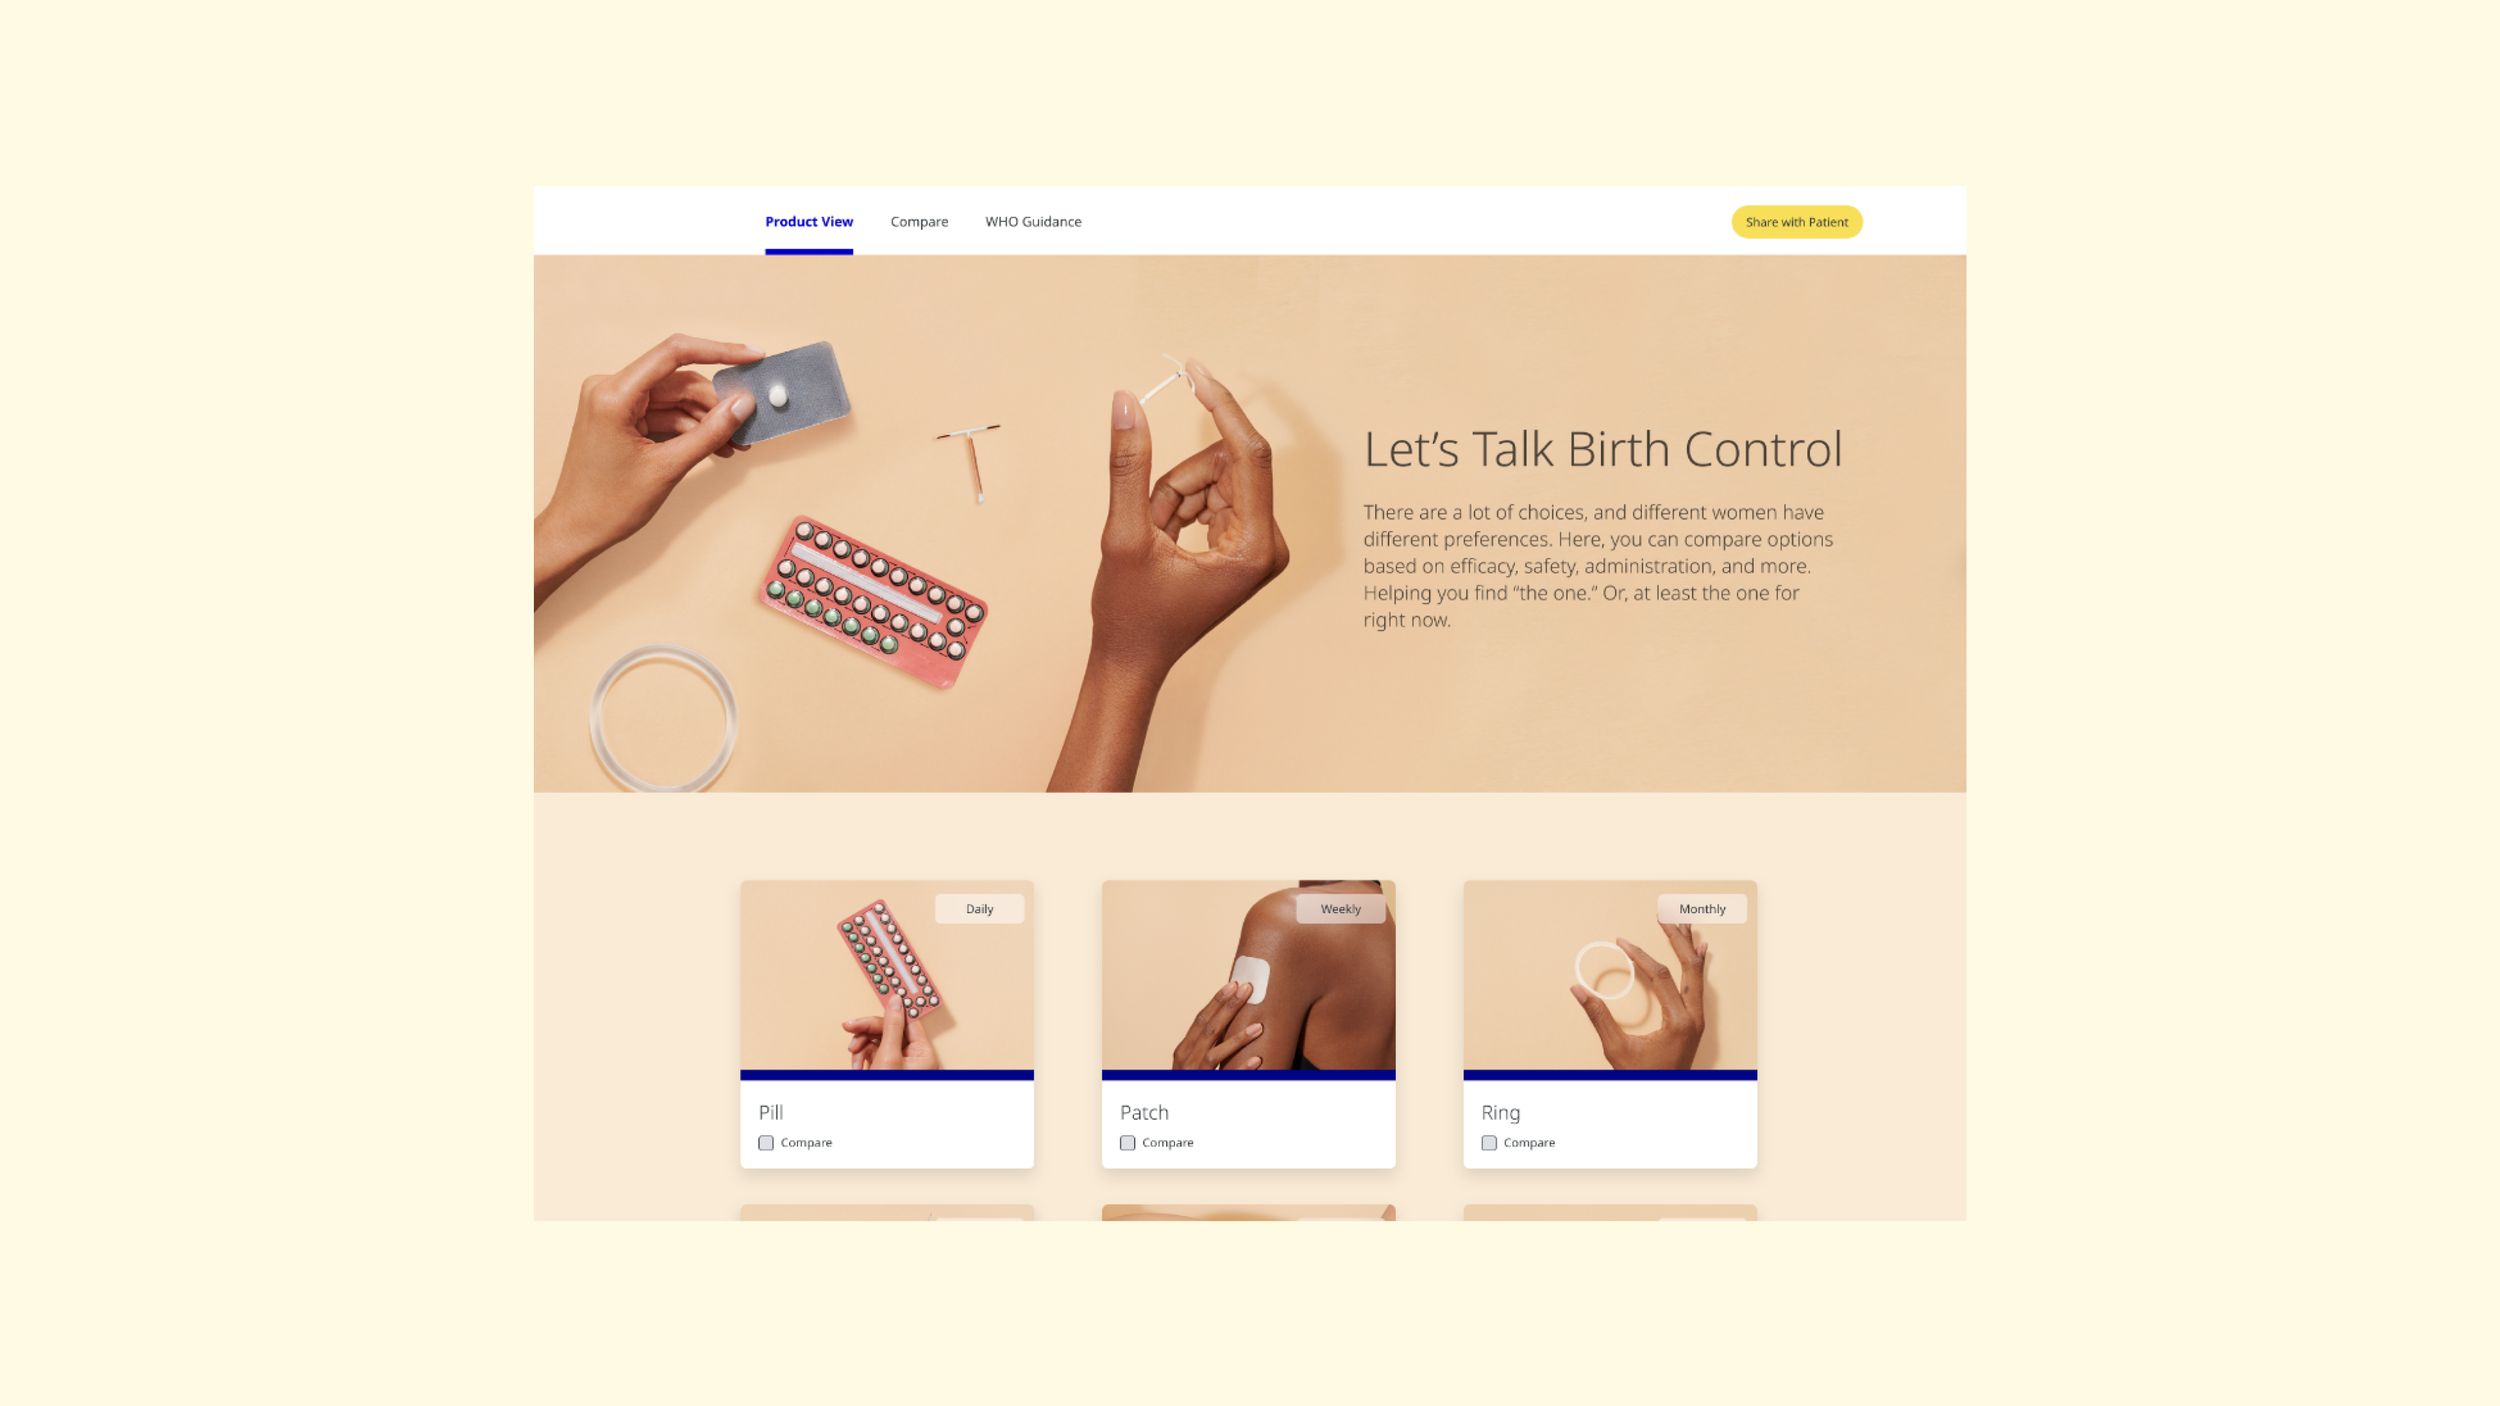
Let's Talk Birth Control Website
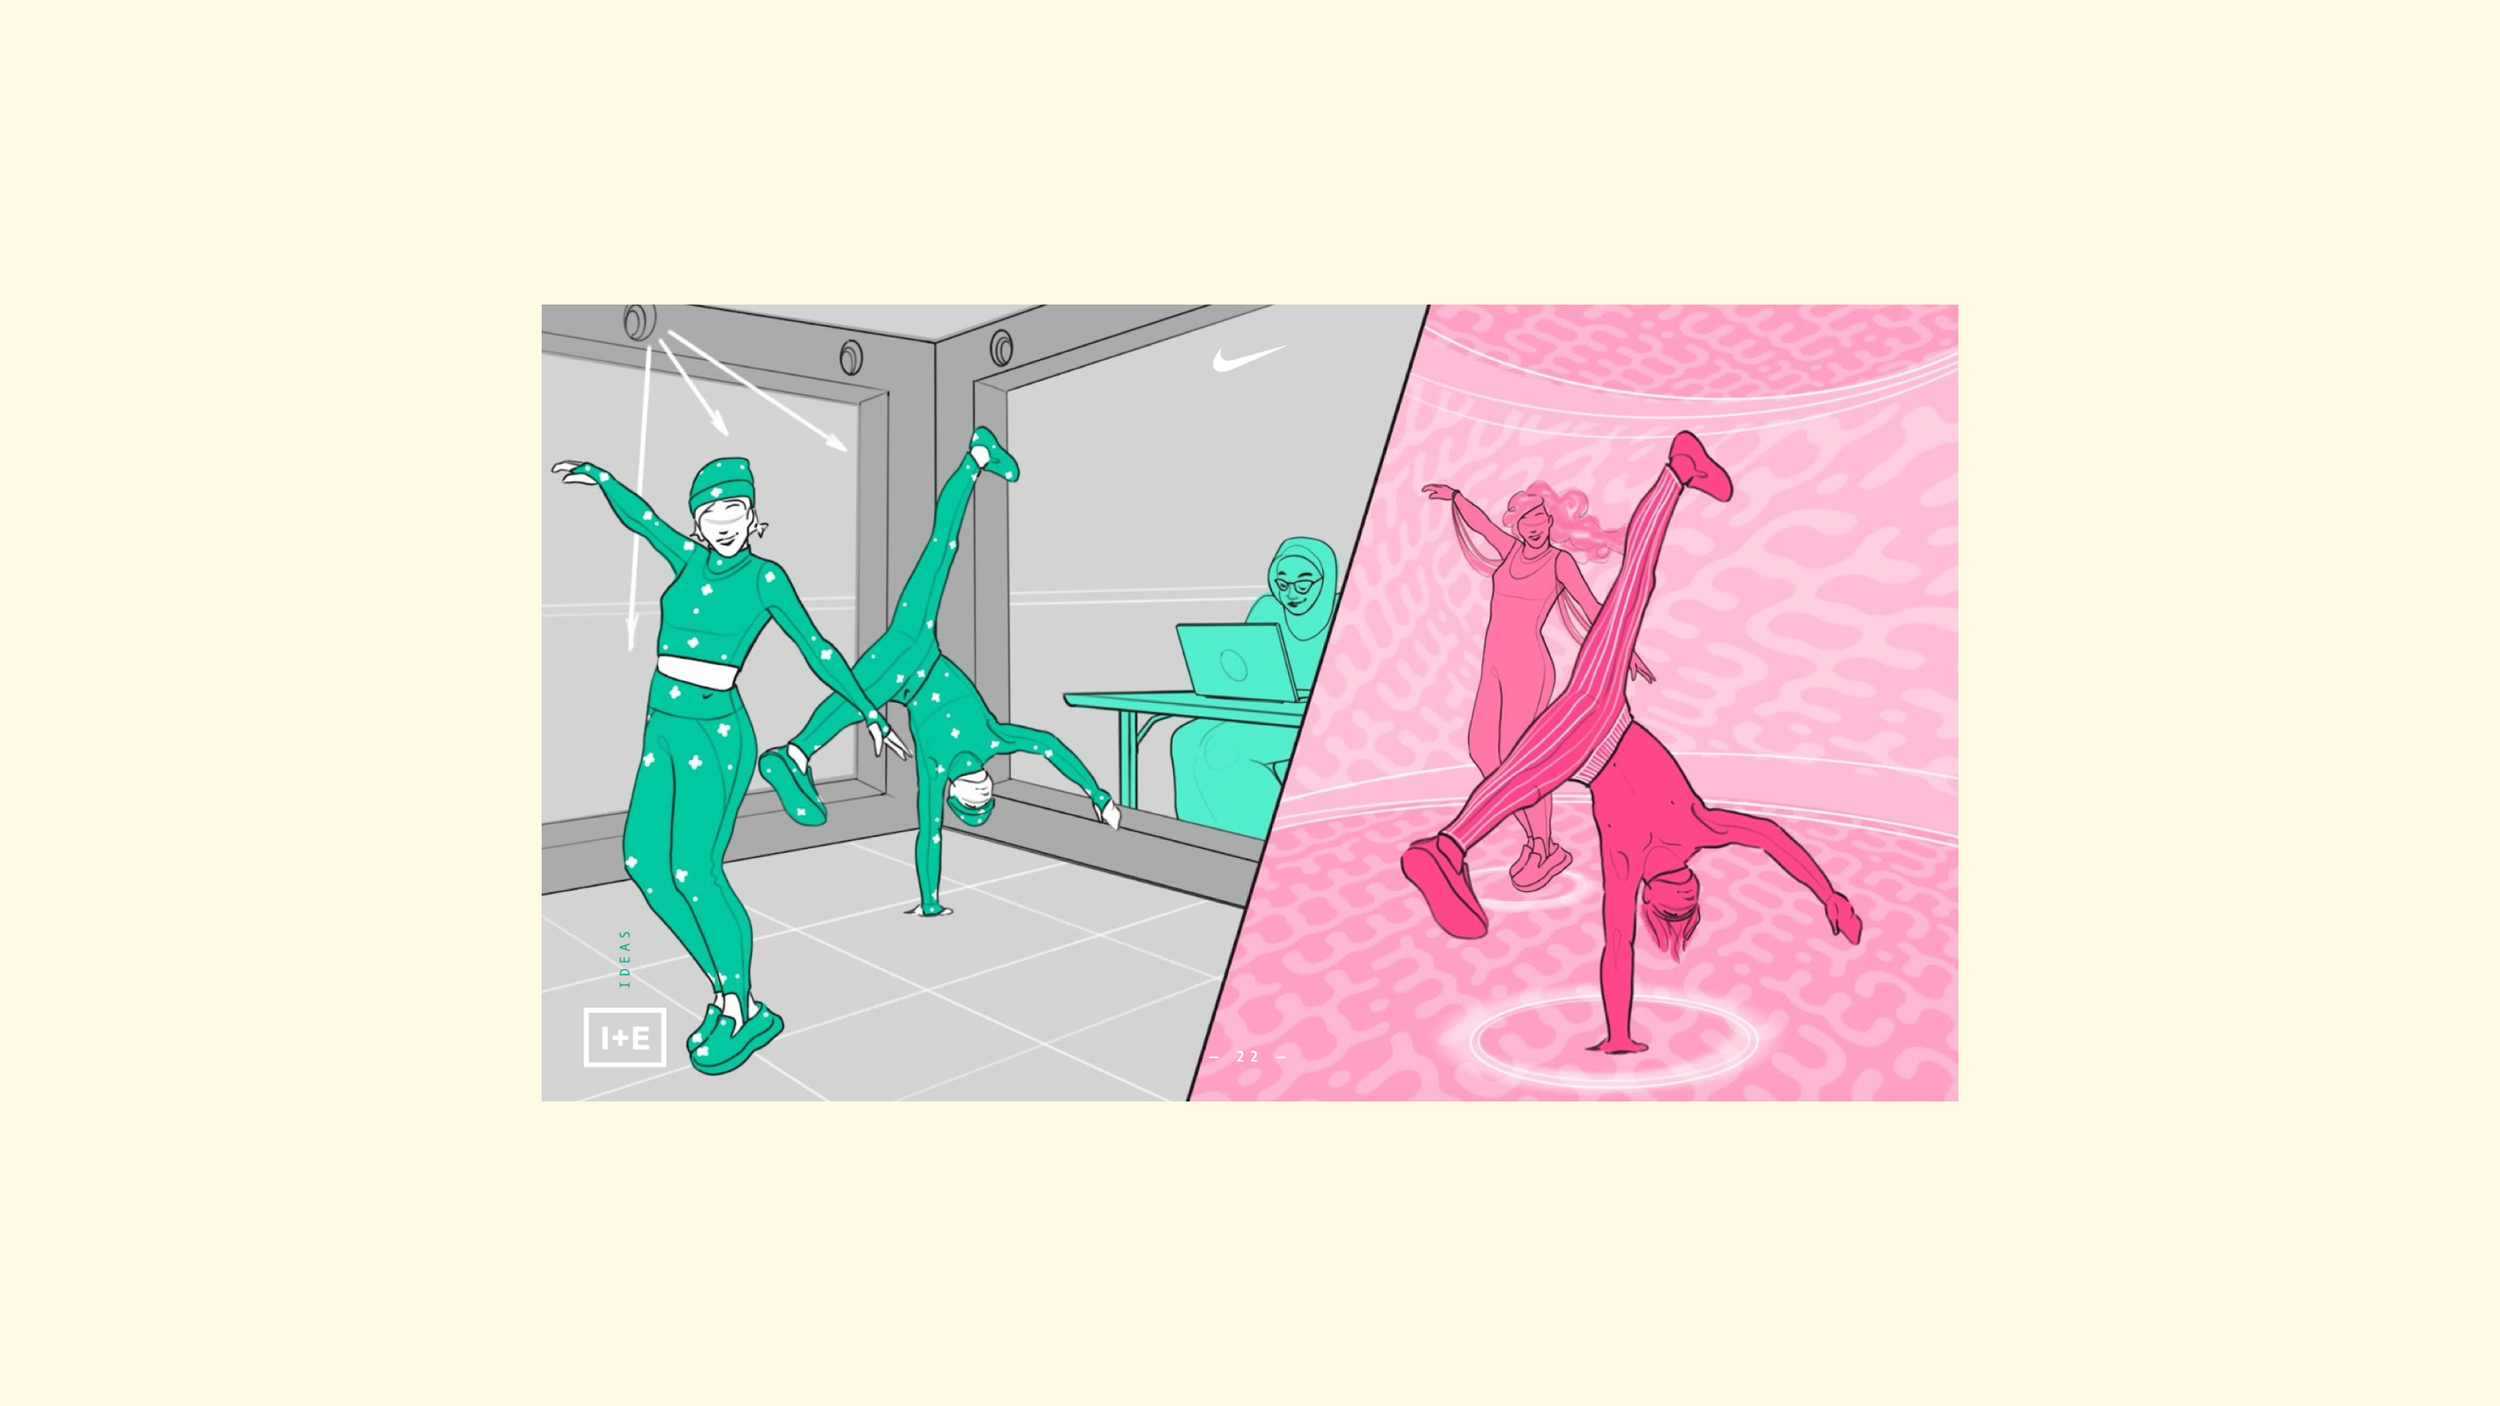
Nike Dance Concepts

Interactive Discovery Wall
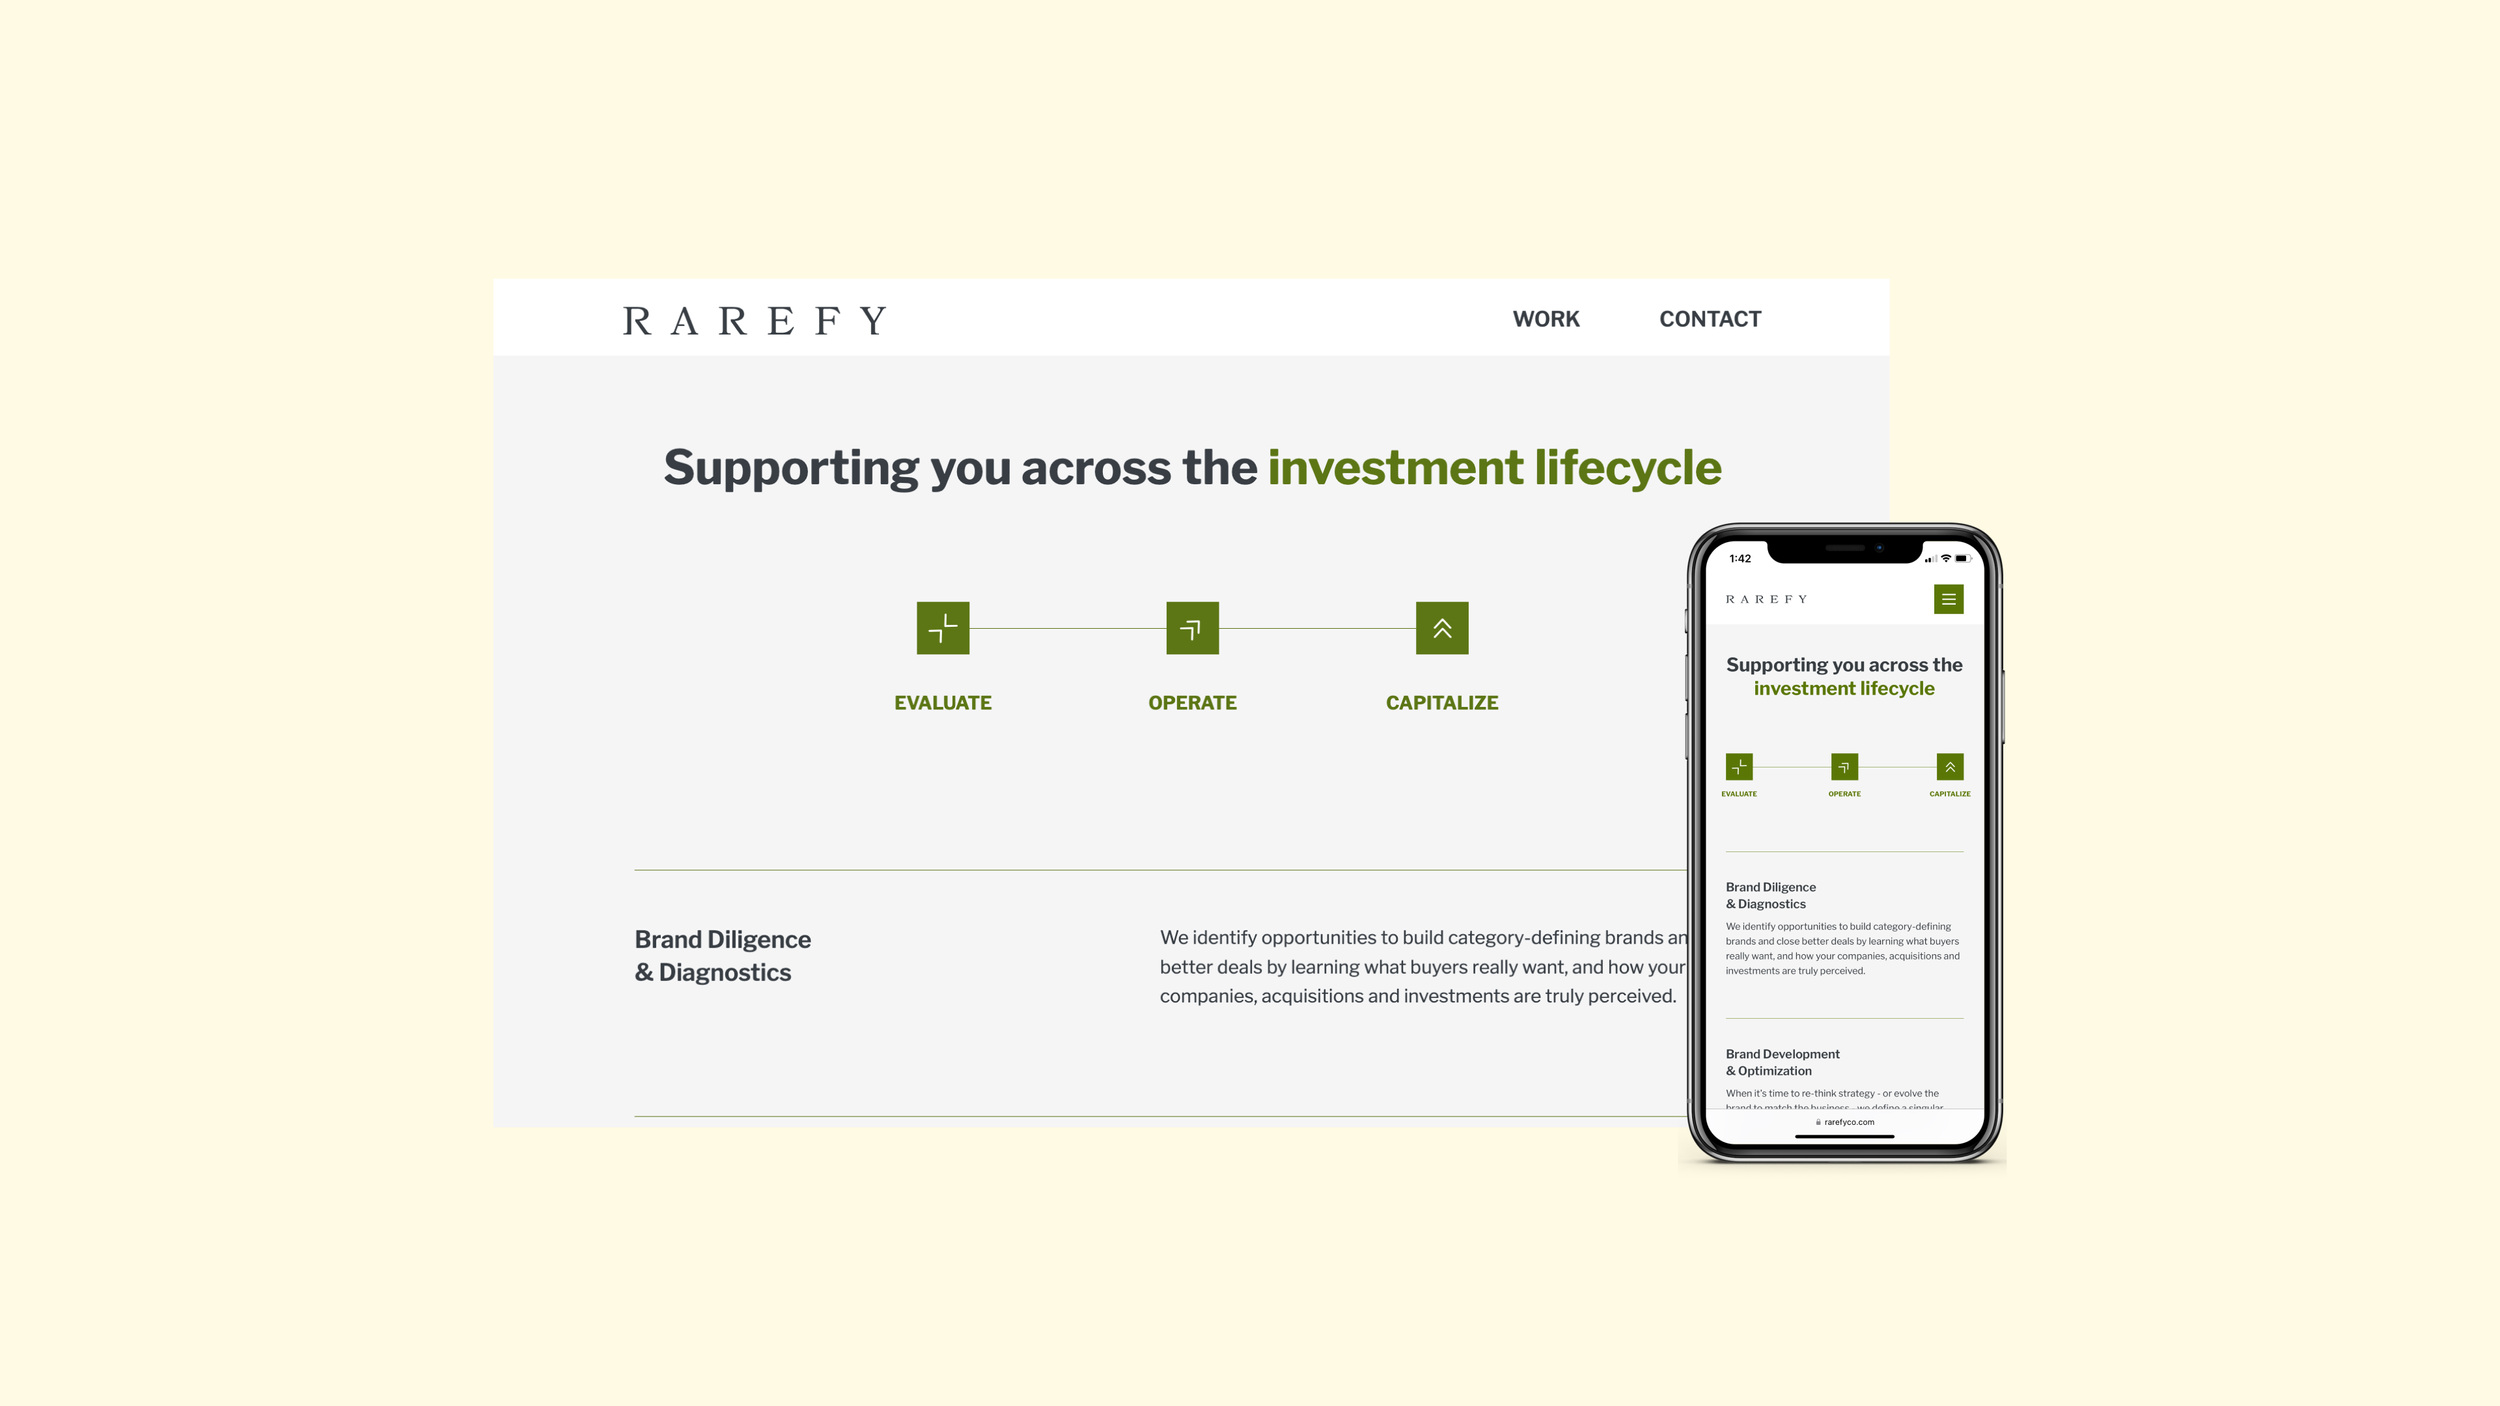
Rarefy Website
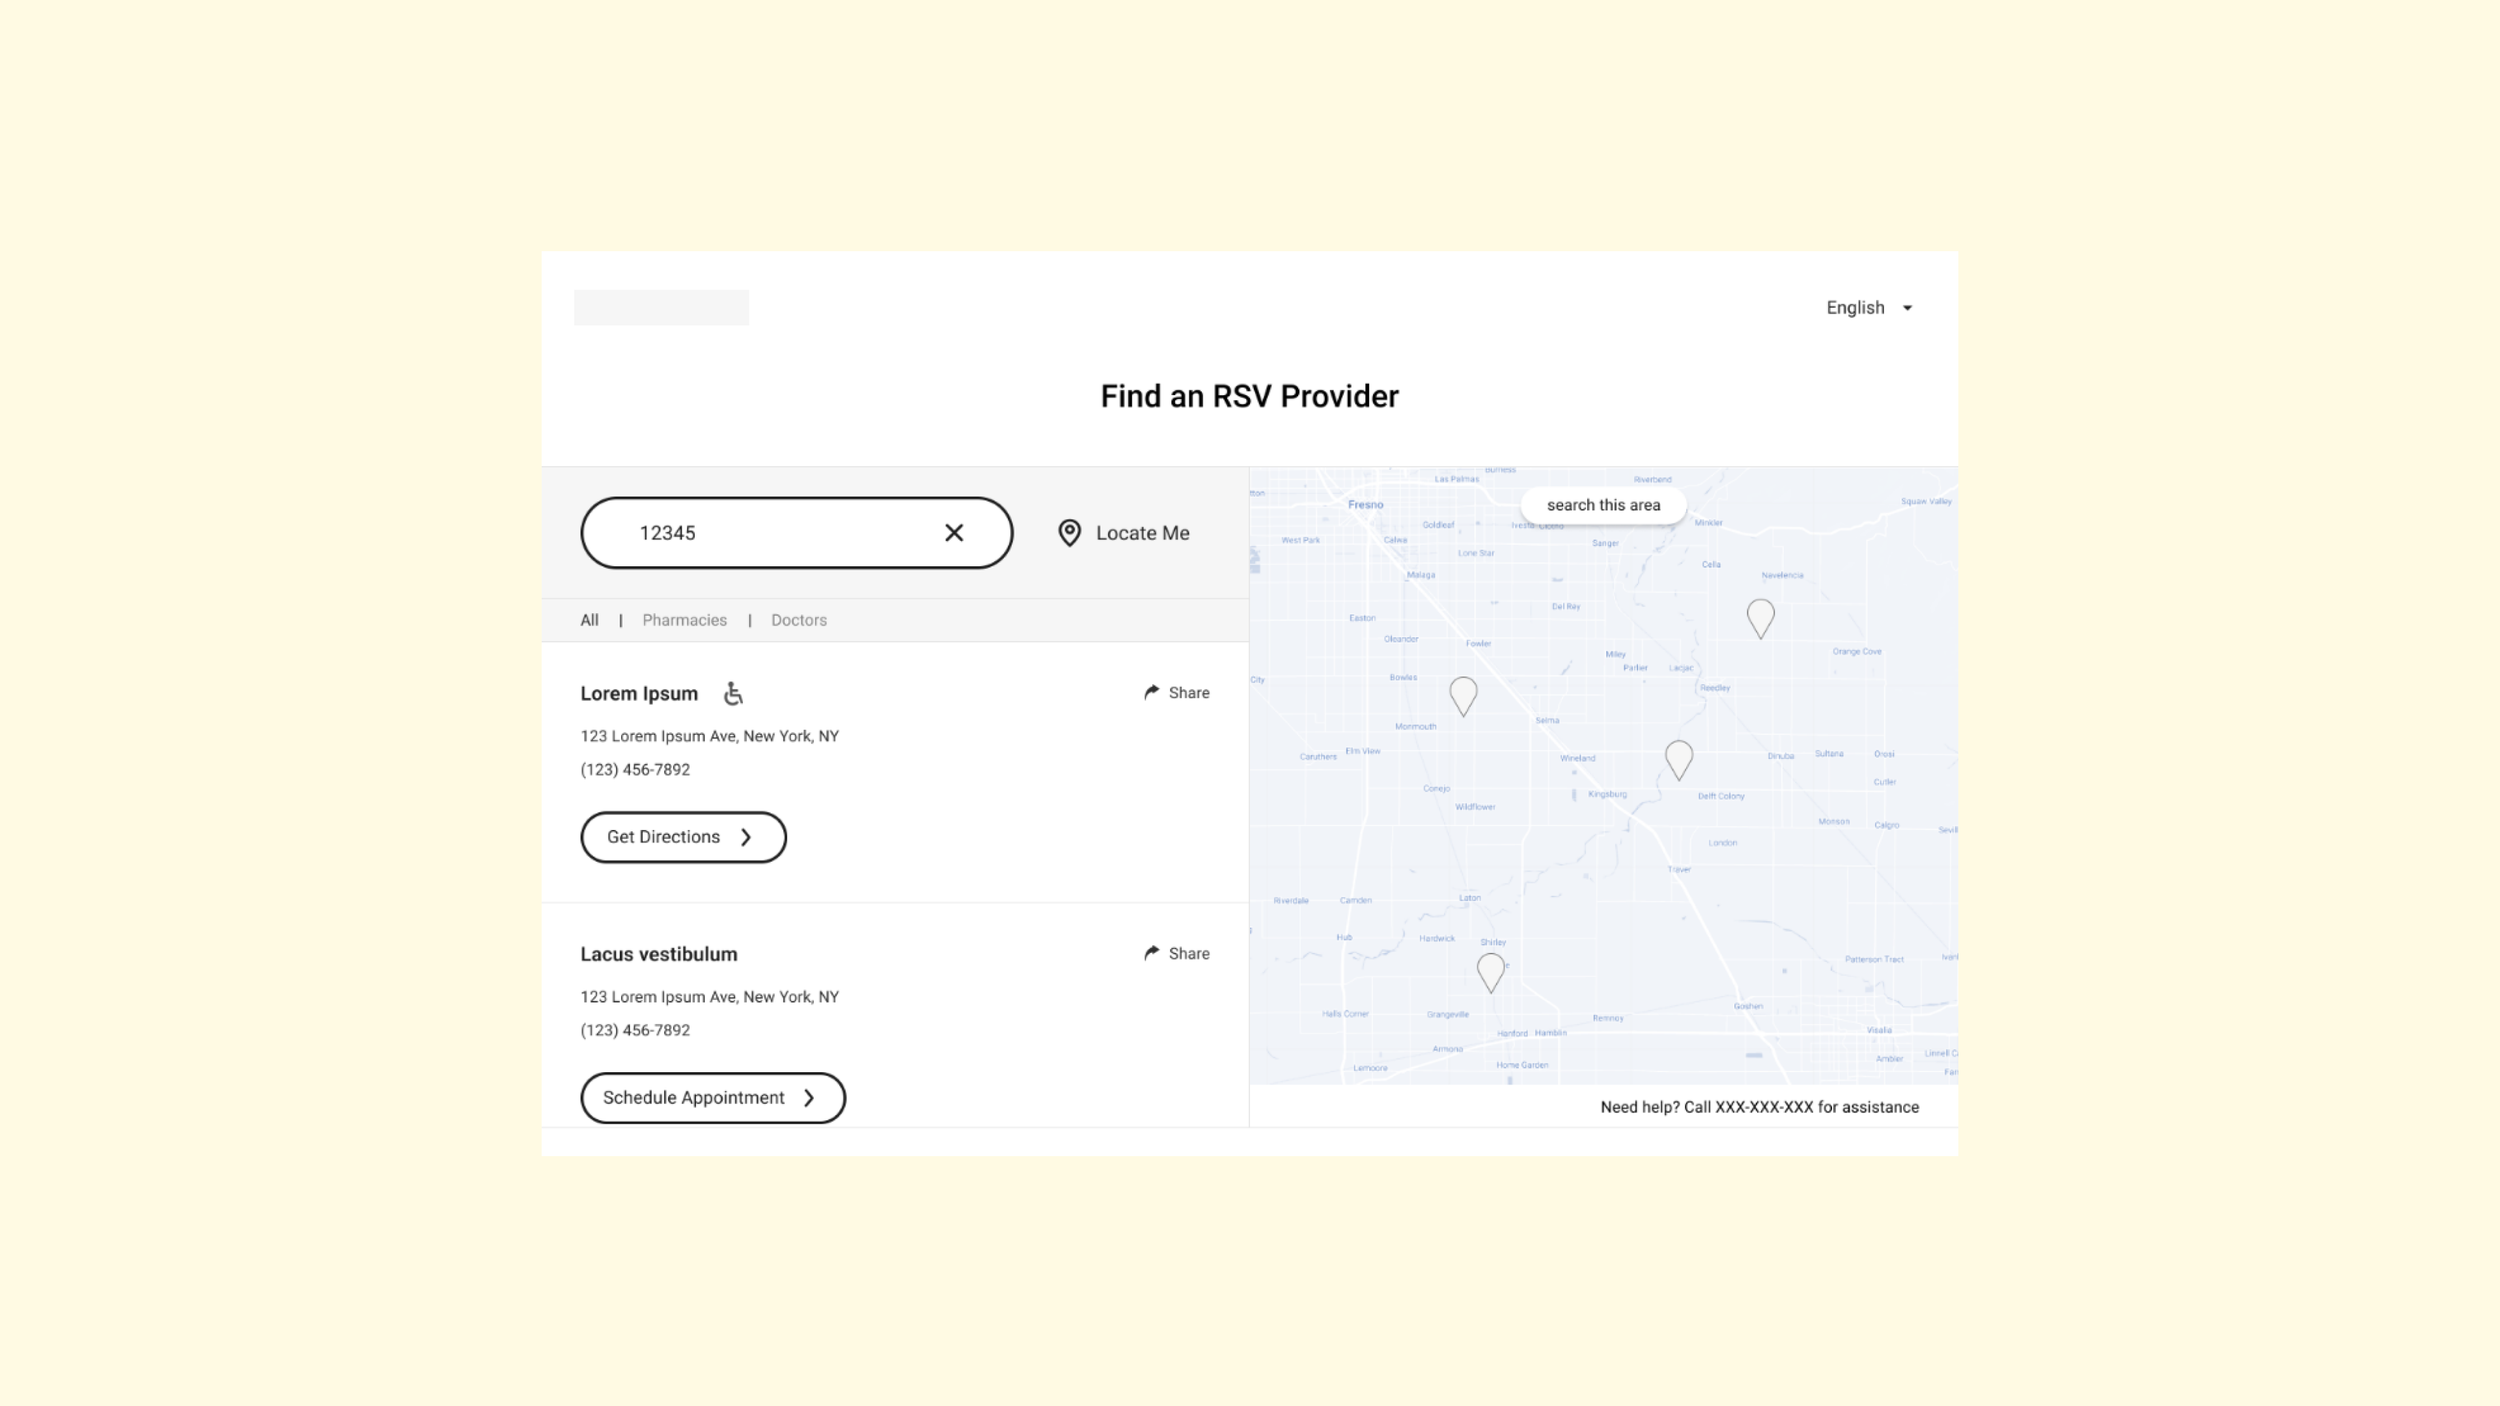
Vaccine Finder
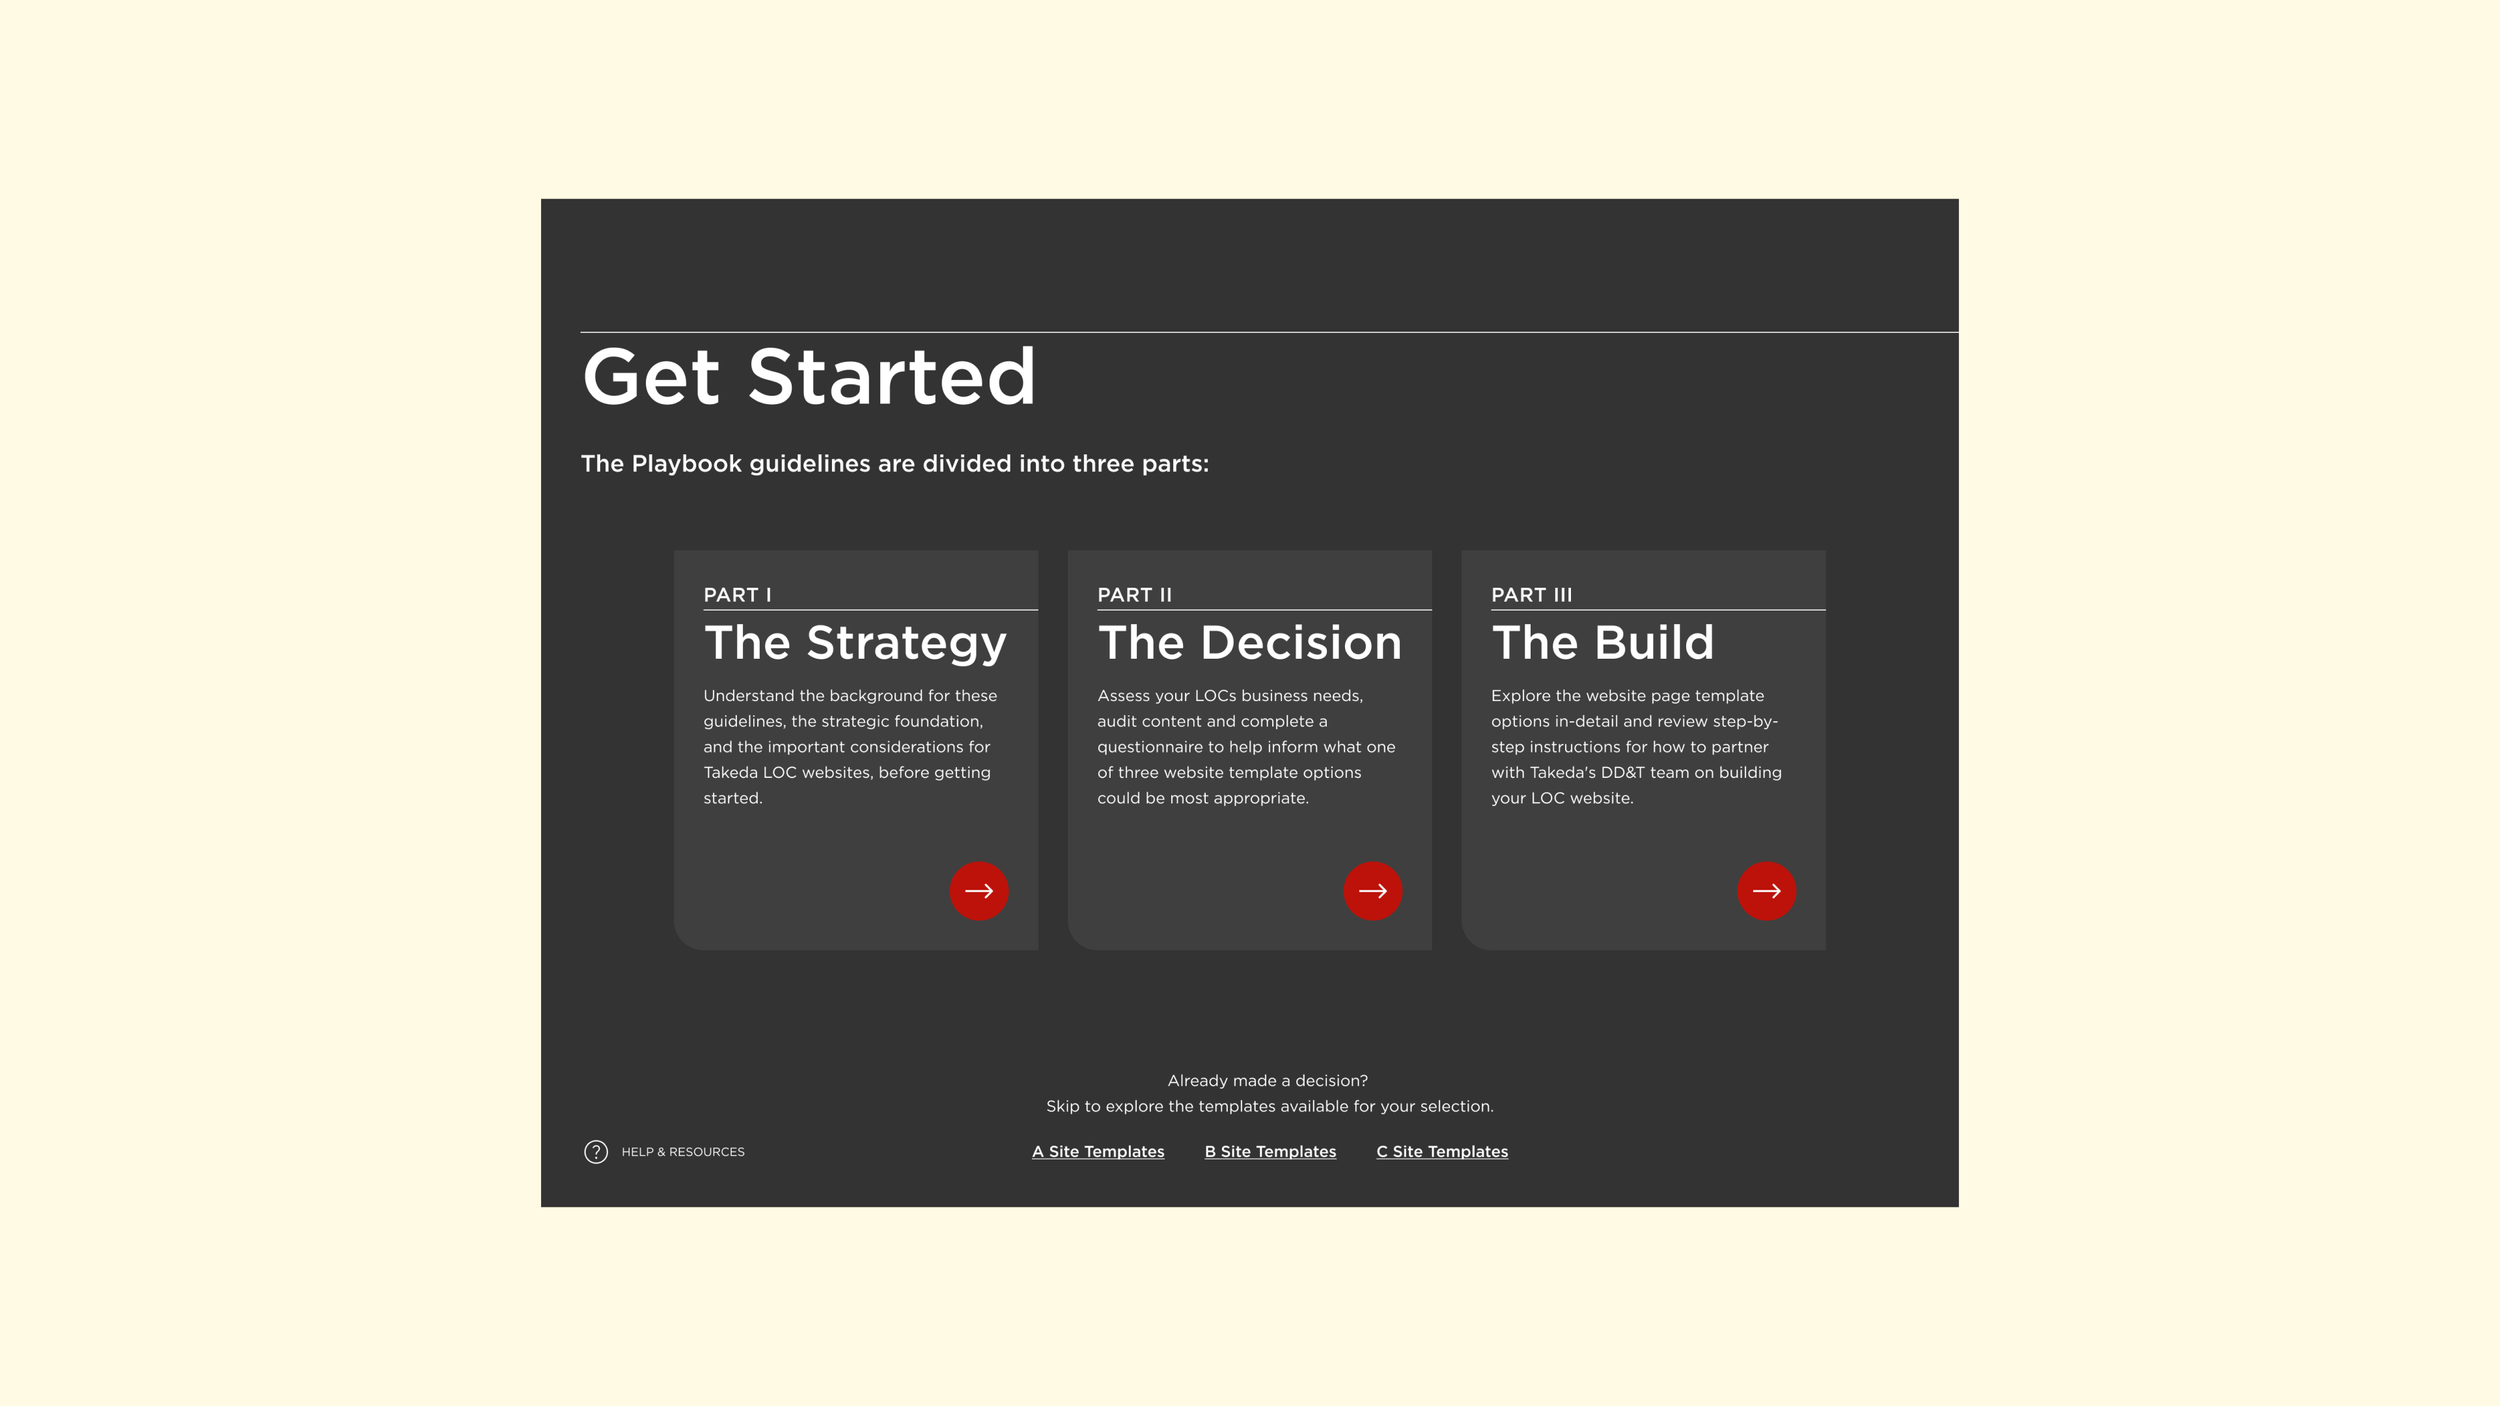
Corporate Website Redesign & Playbook
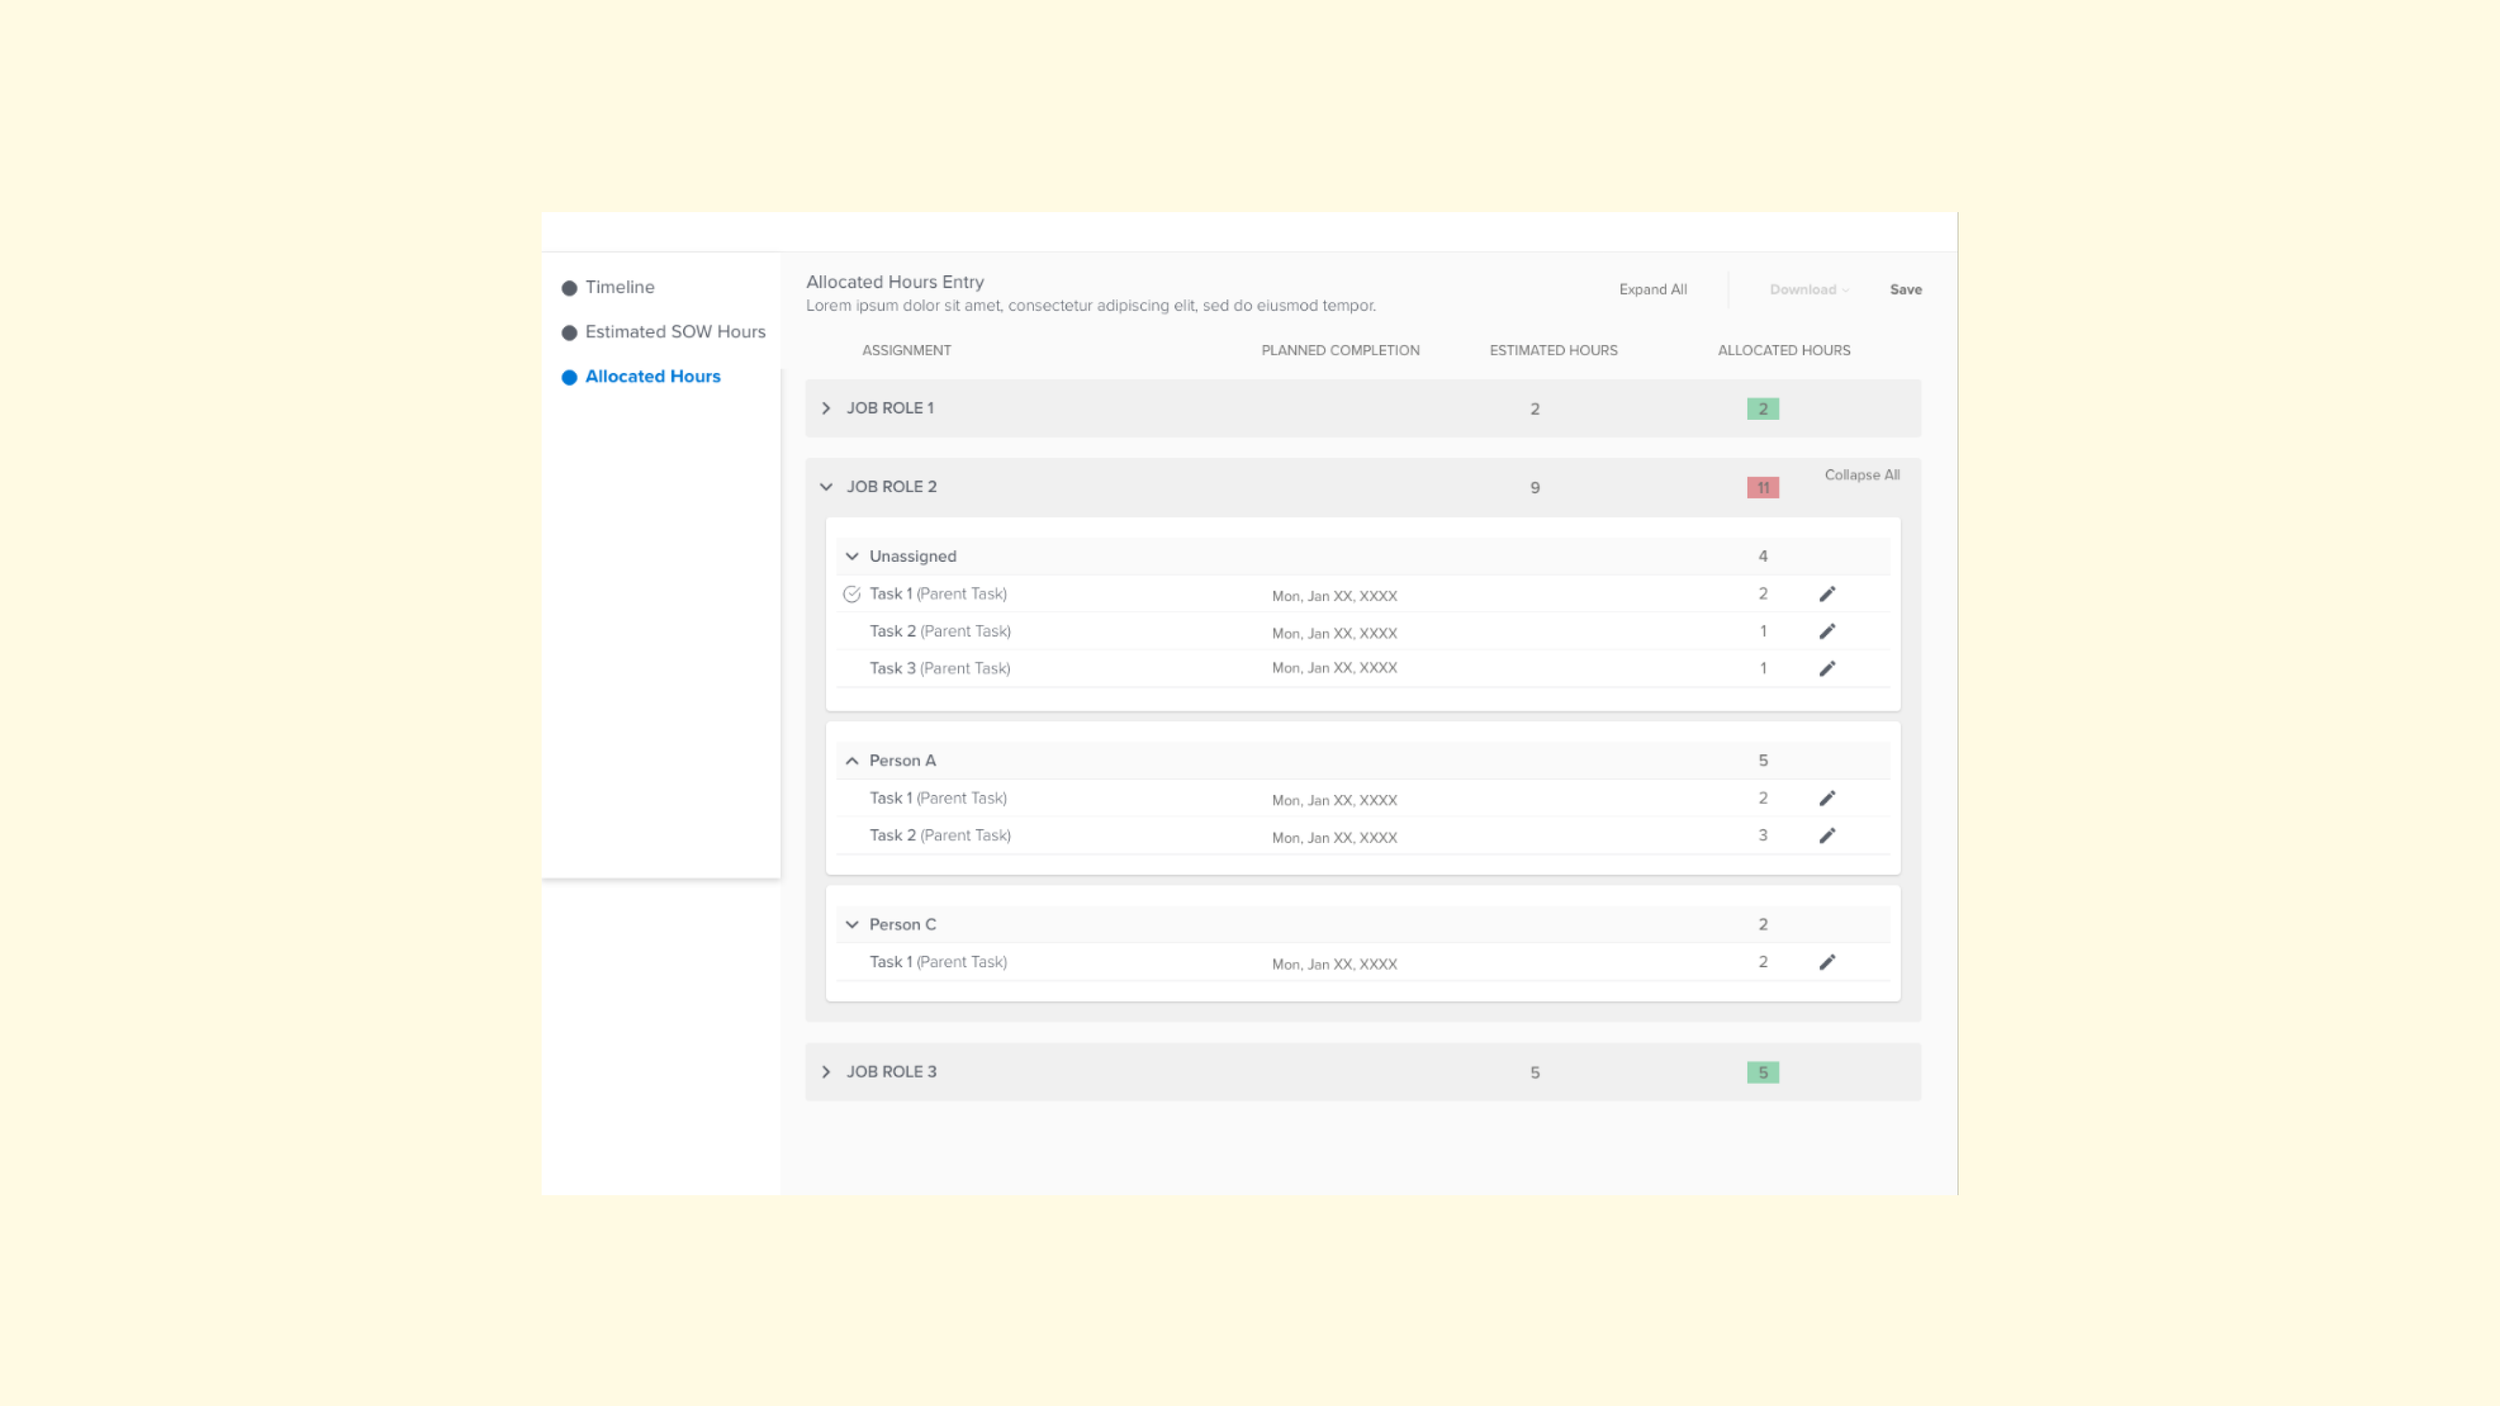
Easy Hours Dashboard